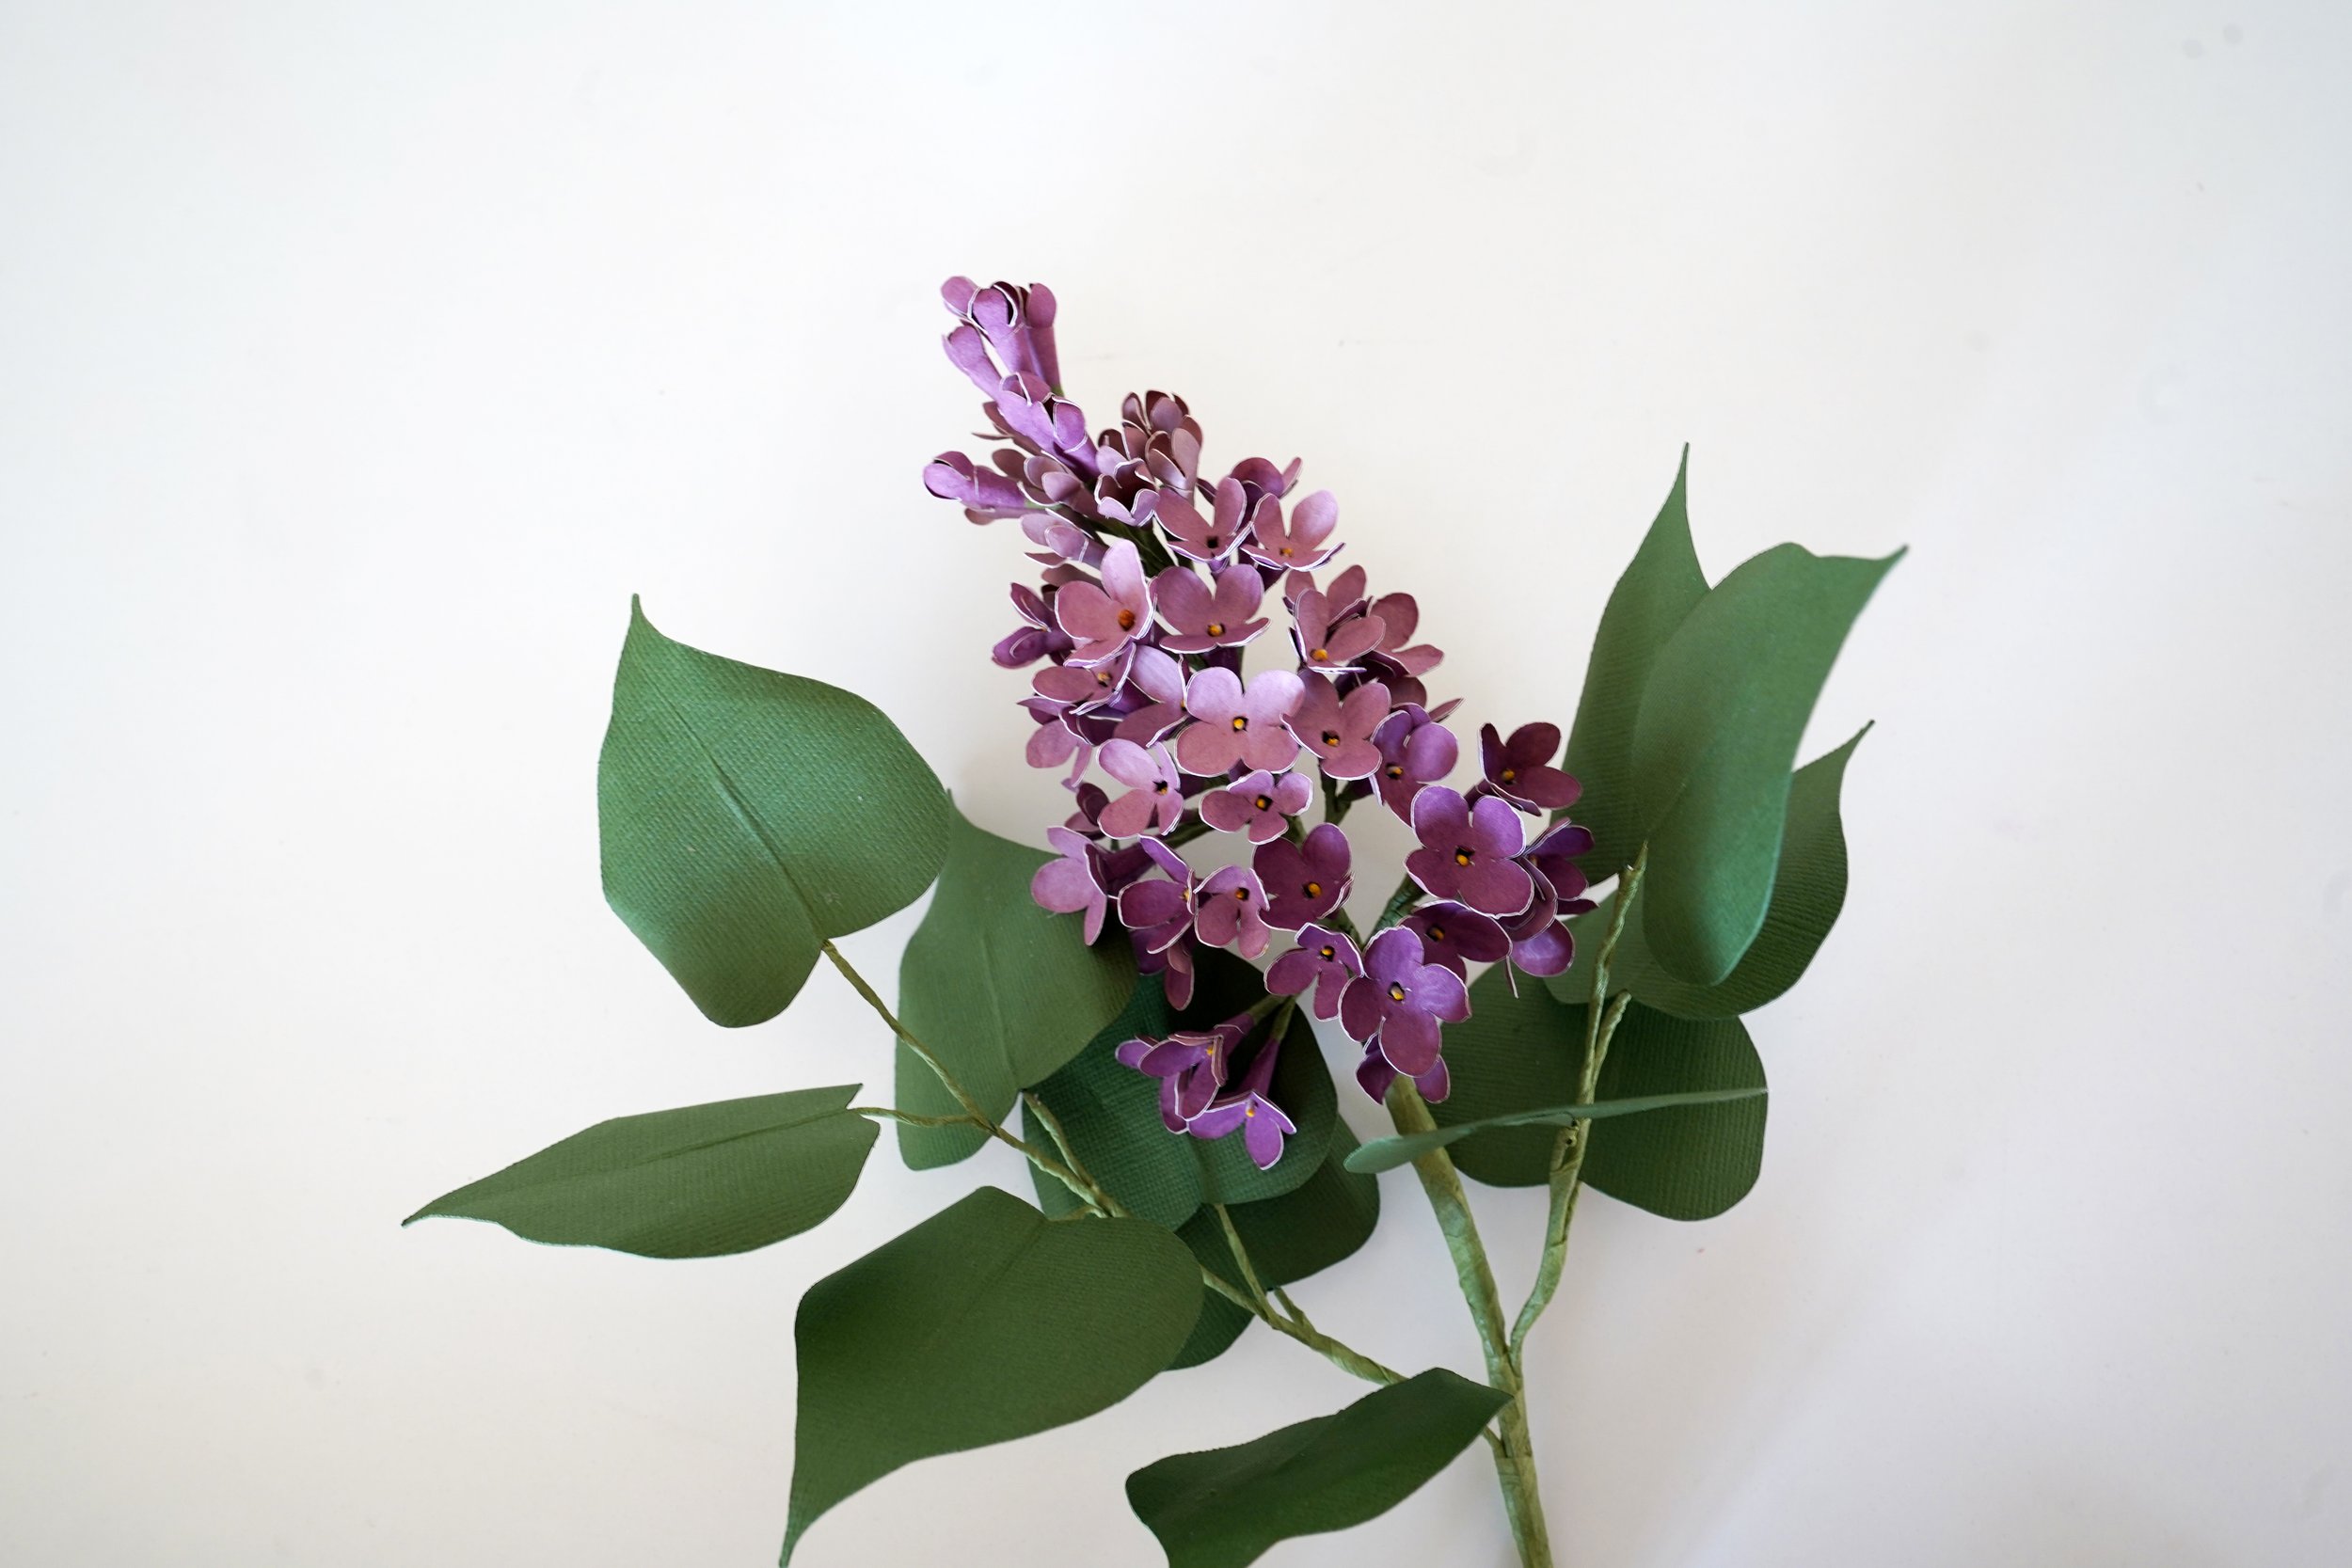
How to Make Paper Lilacs with Cardstock
If you’re looking to make a vibrant, dimensional flower that really stands out, this paper lilac is it! I designed this project to give you a detailed center for the lilac—using cardstock paper. Whether you’re creating a single stem for a bud vase, a full 360° branch for a statement centerpiece, or a handmade gift, this tutorial walks you through the entire process step by step.
Supplies You’ll Need:
My Paper Lilac Template - https://www.handmadebysarakim.com/digital-templates/lilac
Green, Purple Cardstock Paper (use discount code “SARAKIM10”)- https://www.12x12cardstock.shop/?p=BkRvWGQ5n
Thick Green Floral Wire- https://bit.ly/3RVT5Z2
Thin Green Floral Wire- https://bit.ly/3RDNLJS
Green Thicker Floral Wire Stem- https://bit.ly/3S9Wsg5
Yellow Acrylic Marker- https://bit.ly/4hm4XiK
Wire Cutter + Poking Tool- https://bit.ly/3uv7QEI
Green Floral Tape- https://bit.ly/2VtGXVP
Shaping Tool + Mat- https://bit.ly/3afiBWz
White Floral Tape- https://bit.ly/4cTjd0s
White glue- https://bit.ly/3PAi42t
Cricut Maker-https://bit.ly/3M24JhI
Silhouette Cameo- https://bit.ly/3P7FKvF
Electrostatic Mat- https://bit.ly/42YPeiN
Step 1: Cut Your Paper Lilac Pieces
About 60 flower pieces alternating between the two flower types
About 80 “cone base” pieces (the third pattern that forms the base of each flower)
Around 12 leaves (feel free to do more or less depending on how full you want it)
I personally love using the Silhouette electrostatic mat for this kind of high-volume project—no sticky mat, and no weeding!
Step 2: Prep the Floral Wire Stems
Cut your 24 gauge wire into 4" pieces—you’ll need about 80.
Take your white floral tape and wrap one end of each wire tightly. Press it down well so it sticks. Then use a yellow acrylic paint marker to color the very tip, or swap in yellow floral tape or tissue paper if you prefer.
These will become the center of your lilac flowers—mimicking those soft yellow tips you see on real blooms!
Step 3: Shape Your Petals
Using a small ball stylus, gently stroke the petals to curve them and add a little line texture down the middle of each one. This brings them to life and gives a more natural appearance.
Step 4: Assemble the Flowers
Take that cone-shaped base piece and glue the straight edge to the opposite side using the side tab. This forms the base where your flower will sit.
Use a shaping stick or poking tool to gently flare open the tip of the cone. Add glue to the inner edge where the petals will attach.
Layer one flower piece on top and poke a hole through the center. Insert one of your prepped floral wires (with the yellow tip). Push it through until the yellow tip nestles into the middle of the flower. You’ll repeat this for all 60+ flowers.
Step 5: Make the Buds
For unopened buds, use that same cone shape—but instead of opening the tip, curl it inward so it forms a tighter point.
Attach to a new floral wire, but this time you don’t need the yellow tip—just create a small loop at the top of the wire to anchor it inside. I made about 20 buds, but feel free to adjust the number.
Step 6: Shape the Leaves
Fold each leaf in half and curl the edges outward for dimension. Then sandwich 22 gauge floral wire between the front and back of the leaf using glue. Pre-wrap the base of each with floral tape for clean assembly later.
Step 7: Assemble the Lilac
Start with the buds at the top, taping them together with green floral tape to form the narrow cone-like tip of your lilac. Then start adding flowers as you move downward, alternating lighter and darker petals for a natural gradient.
Once the bloom is full, insert a thicker floral stem wire to add strength and tape it all together. Then tape in your leaf branches every couple inches.
Display Ideas:
Display a single stem in a small ceramic vase for a simple, elegant look.
Group a few together in a bouquet for spring or Mother’s Day.
Add it to a handmade gift box or memory shadowbox.
Watch the Full Video
This paper lilac is one of my favorite statement flowers I’ve made—it looks detailed and layered but is surprisingly relaxing and meditative once you get into the rhythm of assembly. I hope you enjoy the process as much as I did creating it for you!
-SaraKim


